React
React, Next.js - Heroku에 Github로 배포하기
fnow
2022. 3. 22. 14:07
반응형
Heroku에 배포할 수 있는 방법은 여러 가지인데, 그중에서도 Github와 연결해서 배포하는 방법에 대해 정리하고자 한다.
Heroku에 Github로 배포하기
1. package.json에 start와 heroku-postbuild를 세팅해준다.
(package.json)
"scripts": {
  "dev": "next dev",
  "build": "next build",
  "lint": "next lint",
  "start": "next start -p $PORT",
  "heroku-postbuild": "npm run build"
},
2. package.json에 자신이 설치한 node, npm 버전에 맞게 engine을 명시해준다.
(package.json)
"engine": {
  "node": "17.3.0",
  "npm": "8.3.0"
},
3. github에 새 Repository를 생성한다.
4. 프로젝트 폴더에서 아래 명령어를 차례대로 입력해 git을 세팅한다.
git init
git add .
git commit -m "first commit"
git branch -M main
git remote add origin 저장소경로
git push -u origin main
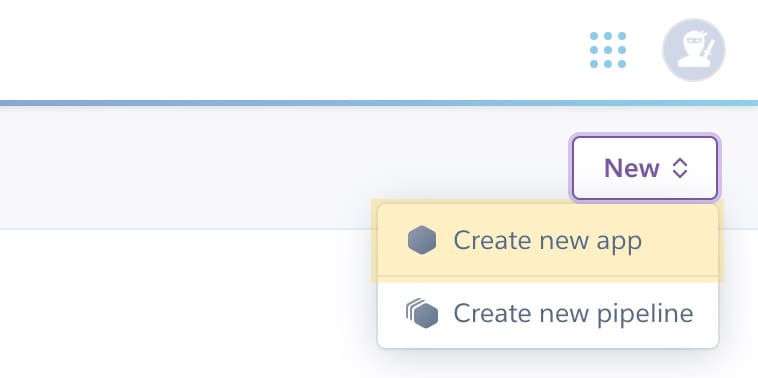
5. heroku에서 앱을 생성해준다.
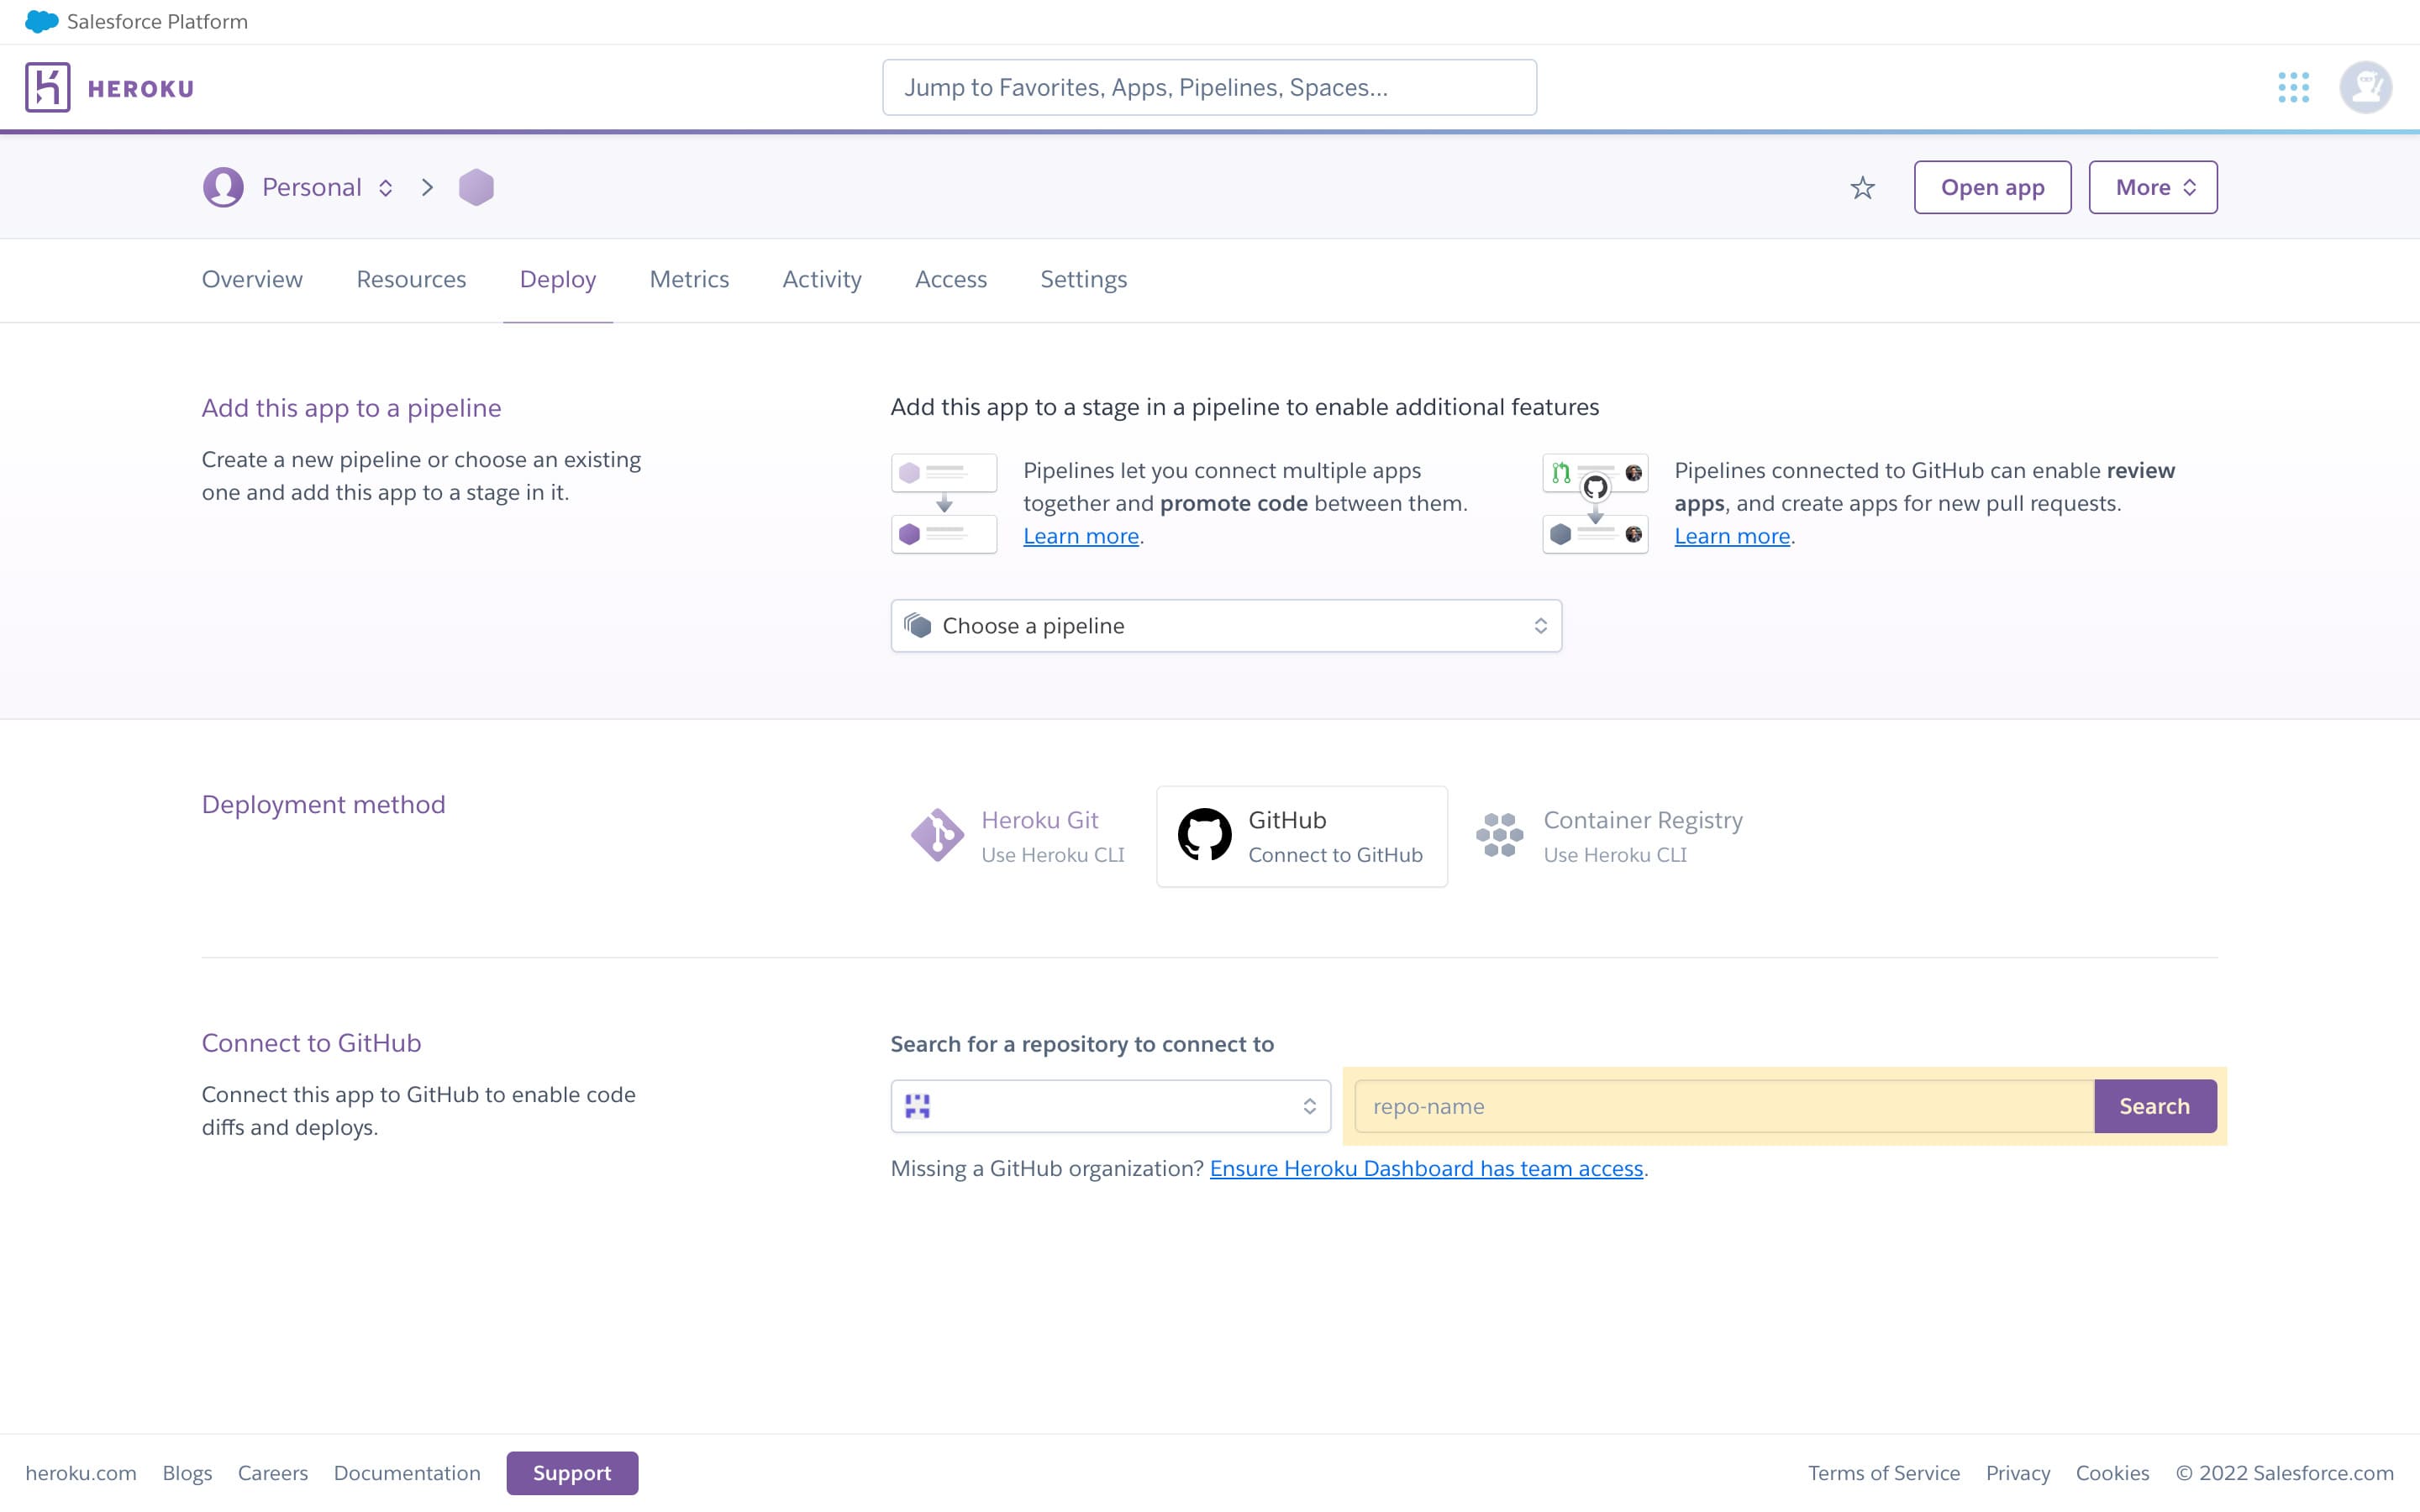
6. 메뉴-Deploy-Deployment method에서 Github를 선택한 다음 Connect to Github를 클릭한다.

7. 아까 생성했던 저장소 이름을 입력해 연결한다.
8. .env에 사용하는 Api key 등이 있다면 Heroku에도 알려주어야 한다. 메뉴-Settings-Config Vars에 등록해준다.

9. 다시 Deploy 메뉴로 와서 스크롤을 내려 Manual deploy로 간다.
10. main 브랜치로 설정한 다음 Deploy Branch를 클릭해 배포한다.

Next.js 참고
https://mariestarck.com/deploy-your-next-js-app-to-heroku-in-5-minutes/
반응형